Keeping your remote session active
When executing the BotCity Runner on Windows under Remote Desktop Connection it is important to pay attention to the fact that when the connection is closed the OS will make the screen go black.
When this happens, bots can no longer capture the screen and run the automation correctly if your automation requires graphical resources.
Over the following sections we describe some approaches to solve this issue.
BotCity Session Manager
Session Manager monitors the task queue in real-time, activating resources as the queue grows and deactivating them when demand decreases. It is optimized to provide timely resource allocation, reducing idle time and ensuring resource availability when necessary.
Session disconnect script
Warning
The session scripts are now deprecated in favor of the Session Manager which is a more robust solution.
Please consider switching to the BotCity Session Manager.
This option consist into having a PowerShell script which moves the current RDP connection into a terminal connection and disconnects the current one without blocking the User Interface.
Inside the folder where the BotCity Studio SDK installation was carried out, we will find a folder with the name startup and inside a script called startup.bat with the following content:
@powershell -NoProfile -ExecutionPolicy unrestricted -Command "$sessionid=((quser $env:USERNAME | select -Skip 1) -split '\s+')[2]; tscon %sessionname% /dest:console"
Startup configuration
The BotCity Runner offers a hook to activate a startup script which is executed when the Runner is ready to process tasks.
This way, we can configure Runner to execute the startup.bat script and carry out the user disconnection process.
For that, go into your ./conf/conf.bcf file and add a new parameter to it called startup.
Your configuration file should look like this:
Important
The next time you start BotCity Runner, it will run the script to close your RDP connection while keeping the session active automatically.
When using this approach, a user's disconnection must always be done in this way to ensure that access to the machine's graphical resources is enabled.
If you need to access this user and do not want to restart the Runner to disconnect the session, run the startup.bat script, and the session will be disconnected similarly.
Warning
Depending on the user's permission level, it may be necessary to launch Runner with administrator permission for the startup script to run correctly.
Environment configuration script
In addition to being able to configure a script to run as soon as Runner starts, we can also configure so that some action is done through a script before starting to execute a task.
Inside the folder where the BotCity Studio SDK installation was carried out, we will find a folder with the name scripts and inside a script called console_session.bat with the following content:
FOR /F "skip=1 tokens=3 usebackq" %%X in (`query session %USERNAME%`) DO tscon %%X /dest:console
powershell.exe -Command Set-DisplayResolution -Width 1600 -Height 900 -Force
Attention
If you get an error when running the Set-DisplayResolution command, pay attention to the points below:
-
For Server Windows 10 and 11 the command to define the resolution is
Set-ScreenResolution. That is, it should be used like this:Set-ScreenResolution -Width 1600 -Height 900 -
In some cases, the module DisplaySettings may not have been installed by default on PowerShell. In this way, it is necessary to make the installation using the command:
Install-Module -Name DisplaySettings
This script basically has the same function as the startup script we saw above; it will move the current RDP connection to a terminal connection and disconnect the current one without blocking the user interface. Furthermore, we can define a specific resolution that will be used in this session that will be active.
Instead of running this script when Runner starts, let's configure it to run before Runner executes each task.
In the file ./conf/conf.bcf, we will add a new parameter called beforeTask, which will receive the path of this script that will be executed.
Warning
Depending on the user's permission level, it may be necessary to launch Runner with administrator permission for the beforeTask script to run correctly.
Tip
This script is just a suggestion of the type of configuration that can be performed.
You can change and configure the script to configure the environment according to your needs.
Main RDP Machine
Warning
The session scripts are now deprecated in favor of the Session Manager which is a more robust solution.
Please consider switching to the BotCity Session Manager.
This option consist into having a Windows machine with constant RDP connection with the other machines to keep the connection alive and running without the need to have an user connected to them.
Installing RDCMan
Remote Desktop Connection Manager is an application from Microsoft which allows you to manage multiple RDP connections.
After installing it on the MAIN machine, connections are established with the HOST machines running the automations.
Here is a link to download the latest version of RDCMan.
After downloading the file, all you need to do is to extract it and run RDCMan.exe from the extracted folder.
Adding a new machine
Create a new file machines.rdg and save it on the same folder as RDCMan:

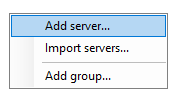
On the left panel, right-clickon the empty area and select Add Server.
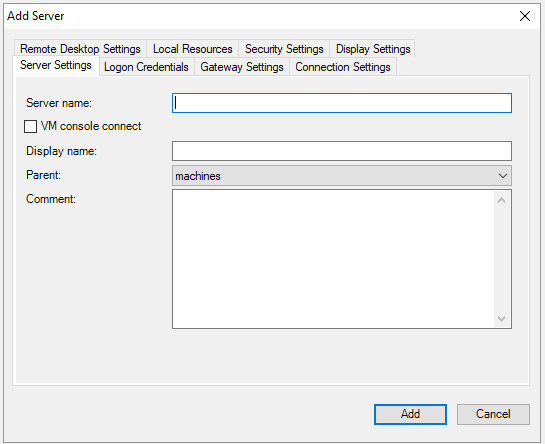
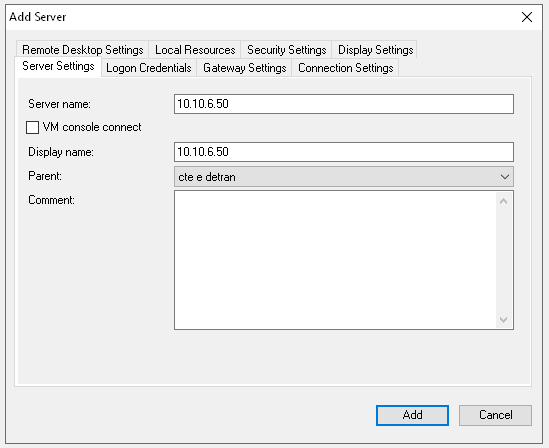
Configure the access to the HOST machine:
Warning
The following steps are key to the proper functioning of the RDCMan.
Please follow them carefully.
- Under server name, you just need to use the machine IP address:
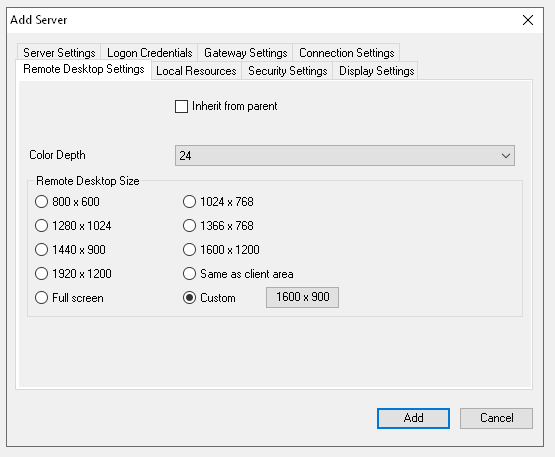
- Setup the resolution on the “Remote Desktop Settings” tab to 1600x900.
Info
Change this according to your project resolution. 1600x900 is BotCity’s recommended standard.
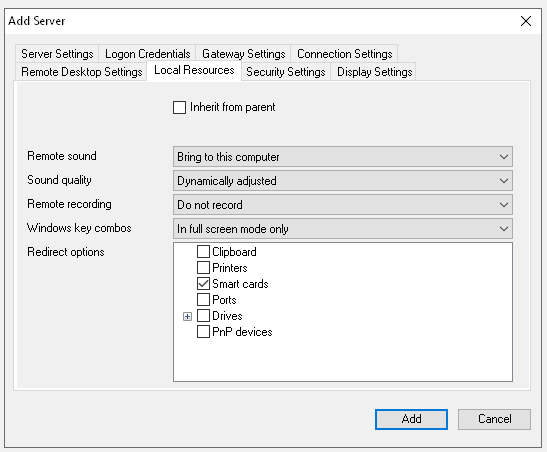
- Turn off “Clipboard” under the “Local Resources” tab
Configuring the MAIN machine to remain active
Configuration of the MAIN machine to keep RDP sessions active even if there are no active RDP connections to it.
Change the local computer registry settings
- On your local computer, close all open Remote Desktop sessions.
- Launch the Registry editor (
regedit.exe). -
Navigate to one of the following Registry keys, depending on whether you wish to modify the Remote Desktop settings only for the current user or for all users on the computer:
HKEY_CURRENT_USER\Software\Microsoft\Terminal Server Client Change this one HKEY_LOCAL_MACHINE\Software\Microsoft\Terminal Server Client
-
Create a DWORD value named RemoteDesktop_SuppressWhenMinimized and set it to
2(hexadecimal or decimal):
-
Close the Registry Editor.
Now when you minimize the Remote Desktop Connection window on your computer, this will not affect the remote computer’s GUI and the GUI will be available to your automations.
Procedure to keep HOST machines active
- Conect to the
MAINmachine - Connect to all the
HOSTmachines using RDPMan - Disconnect from the
MAINmachine