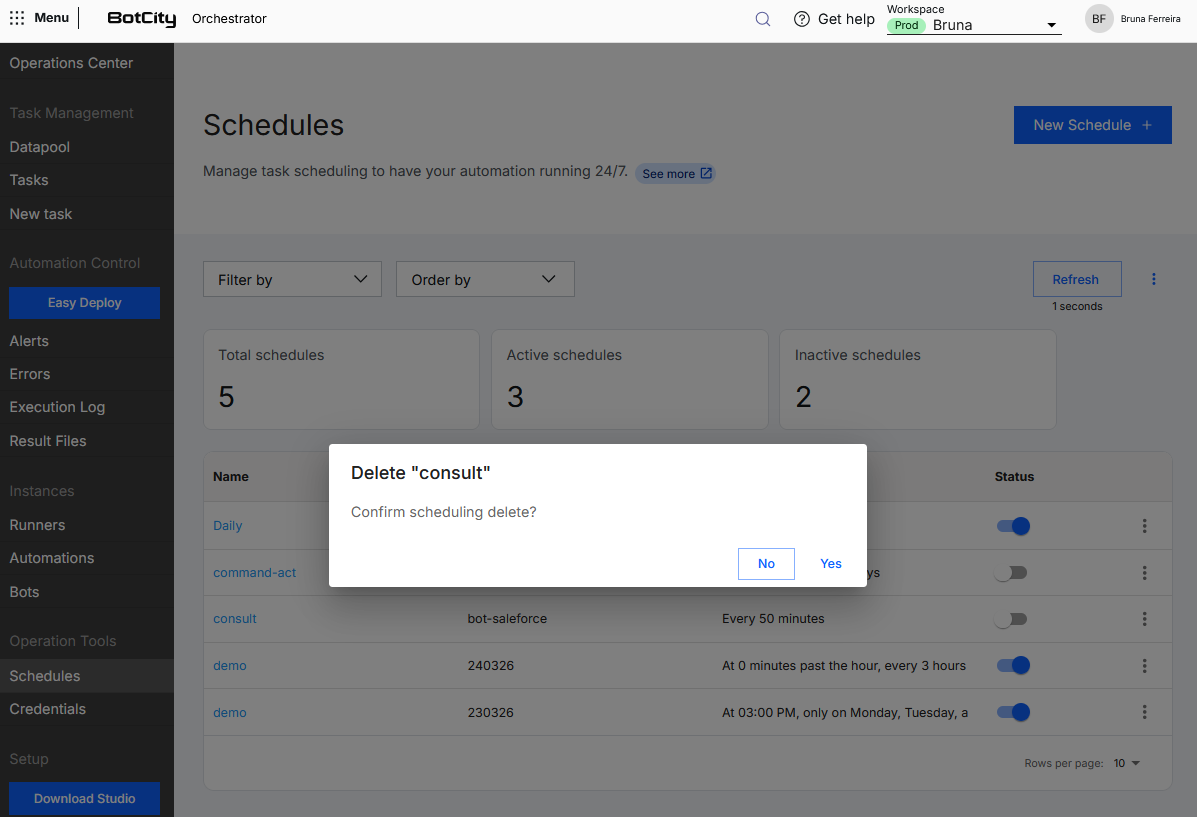
Schedules
In the Schedules menu you can create task scheduling rules for your Automations. This is useful for tasks that need to run at specific times, or for tasks that need to run regularly.
View Schedules
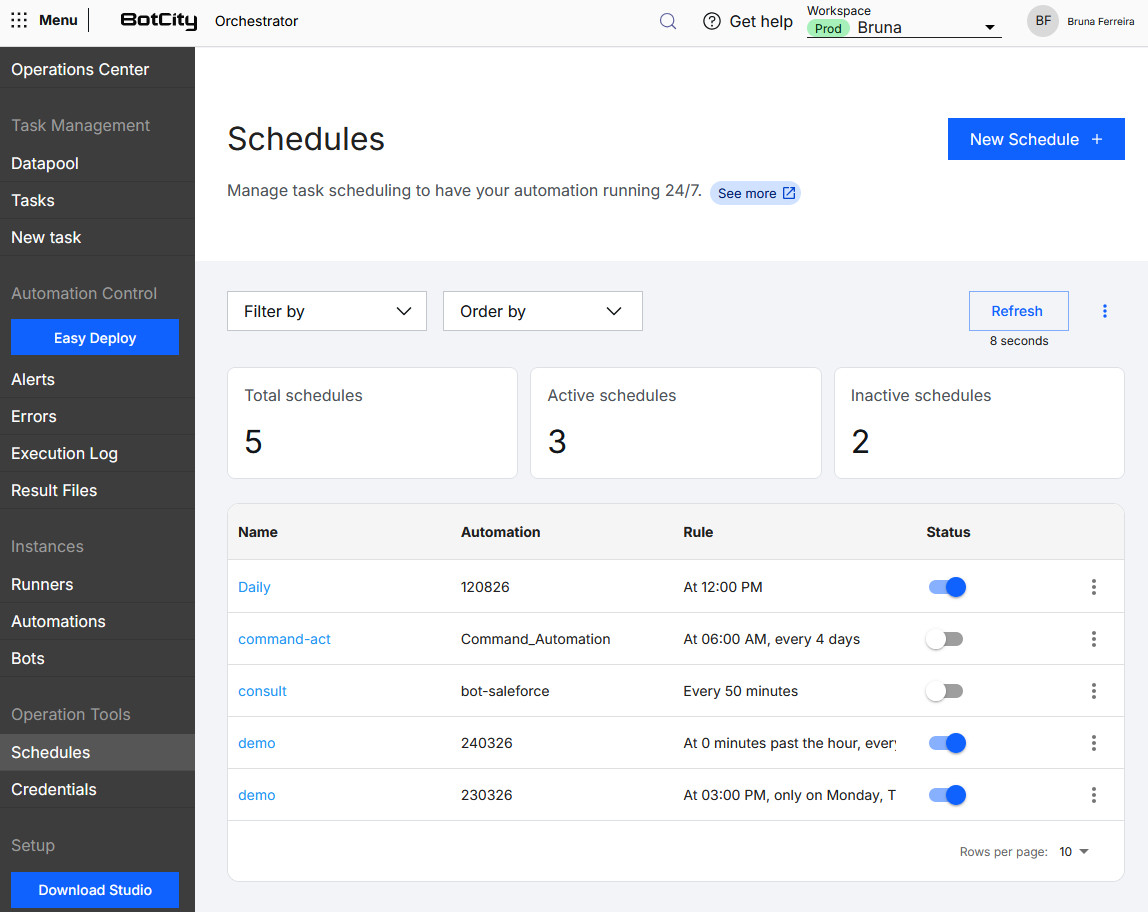
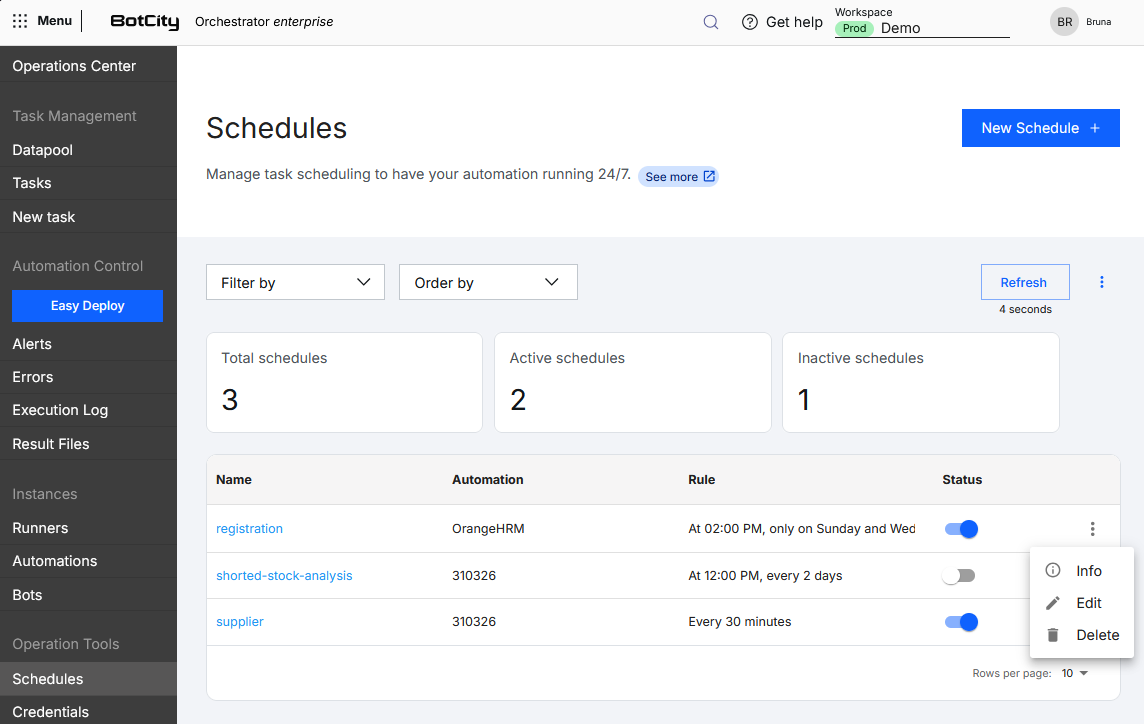
On this screen, you can view a summary of the Schedules via the following cards:
- Total Schedules: The total number of Schedules created.
- Active Schedules: The number of active Schedules.
- Inactive Schedules: The number of inactive Schedules.
Below the summary, you can view the schedules in a list format with the following columns:
- Name: The name of the schedule.
- Automation: The automation linked to the schedule.
- Rule: The scheduling rule defined, such as frequency and execution time.
- Status: Button to activate or deactivate the schedule.
- Actions menu: Available actions for the schedule:
Create a schedule
To create a schedule, click the New Schedule + button. You will be redirected to the two-step schedule creation page.
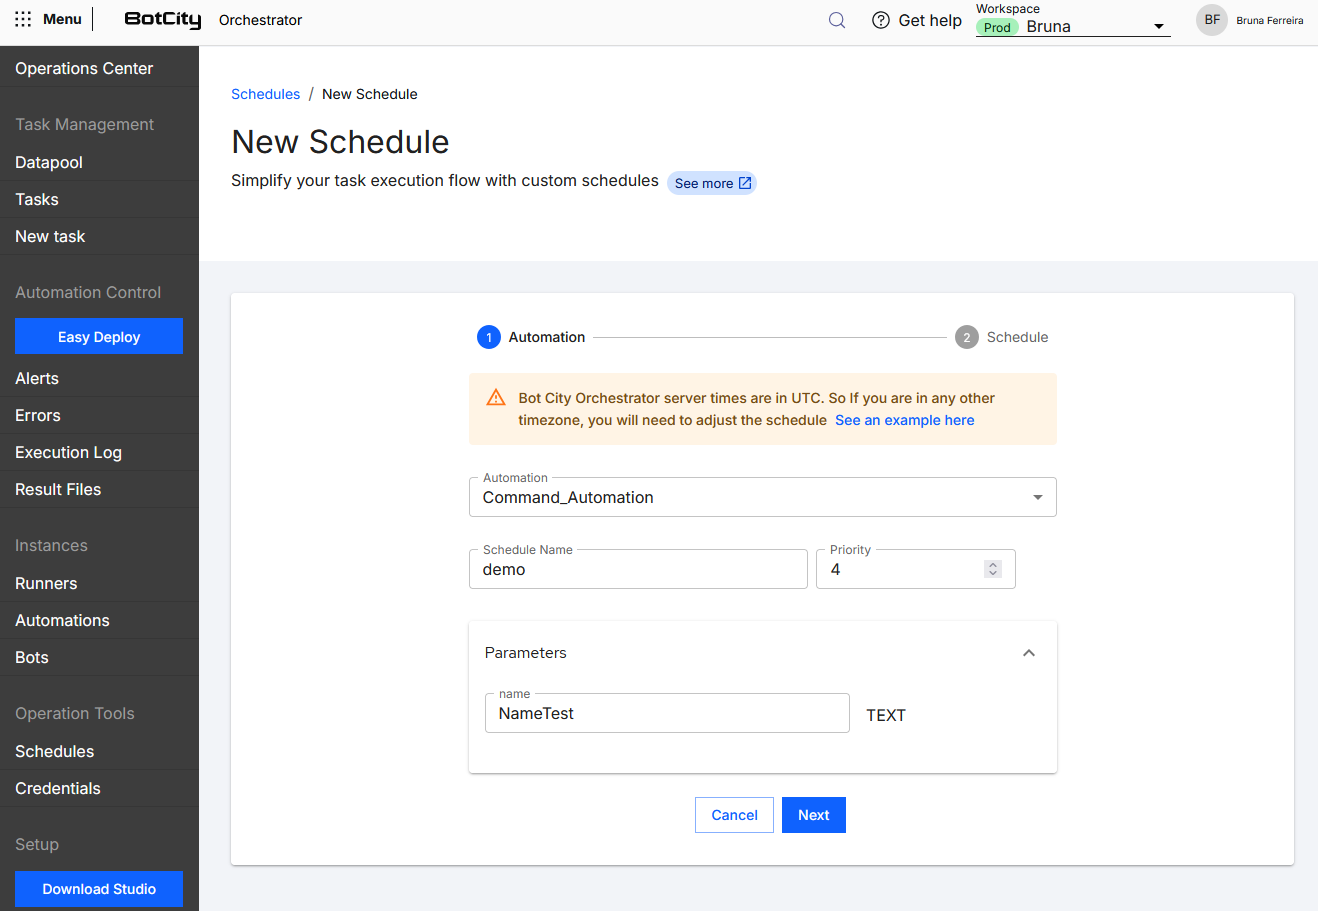
1. Automation
In the first step, fill in the automation information and click Next.
- Automation: Select the automation you want to schedule.
- Schedule name: Fill in the name to identify the schedule.
- Priority: Set the priority of the tasks created by the schedule.
- Parameters: If the automation has parameters, you can fill them in this field.
Time zone
BotCity Orchestrator server times are in UTC. Therefore, if you are in any other time zone, you will need to adjust the schedule.
2. Schedule
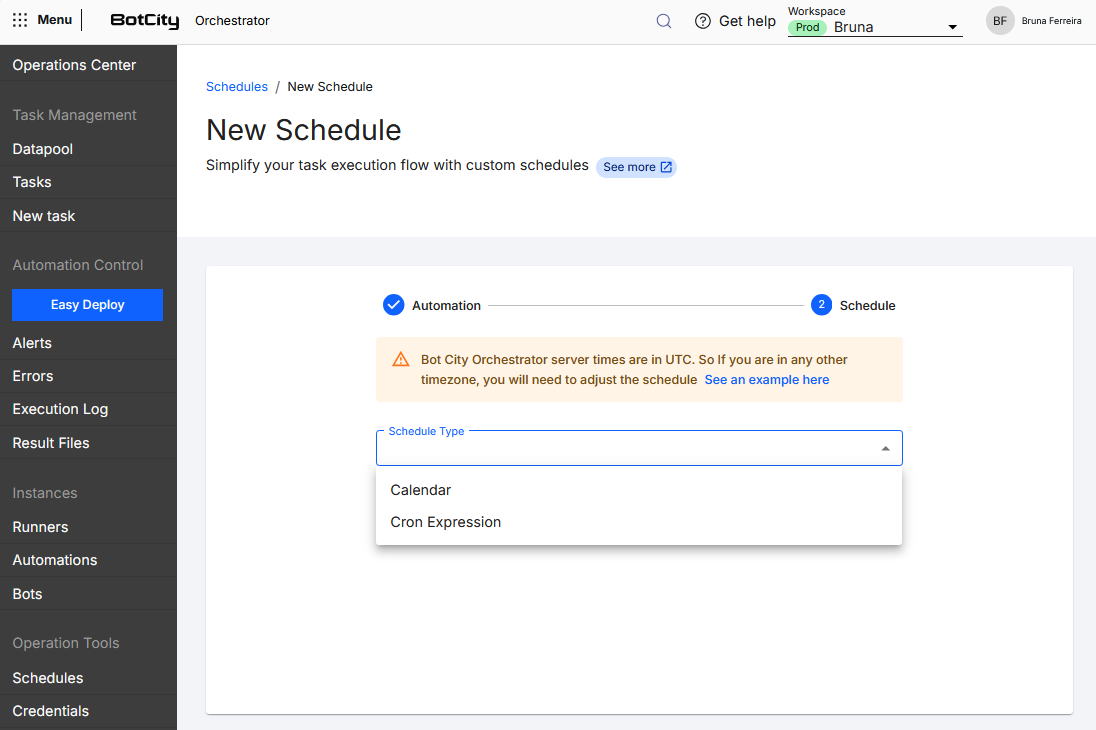
In this step you define the schedule type by calendar or CRON expression.
Time zone
BotCity Orchestrator server times are in UTC. Therefore, if you are in any other time zone, you will need to adjust the time in the calendar or the CRON expression to match your time zone.
Here's an example of this time zone adjustment:
I am in Brazil and would like to schedule tasks for my automation every day at 10:00 AM Brasília standard time (GMT-3).
- The time in the calendar would be 10:00.
-
Since the server time is in UTC, you will need to adjust the time to 13:00.
-
The Quartz Cron expression would be 0 0 10 ? * * .
- With the time zone correction, it becomes: 0 0 13 ? * * .
- This will schedule the tasks to run at 13:00 UTC, which is 3 hours before Brasília standard time.
Calendar
By selecting the Calendar option, you can define a simpler schedule, with a daily, weekly or monthly frequency, for example.
- Repeat frequency: Leads to the repeat frequency options.
-
One-time execution: Leads to creating a new one-time task.
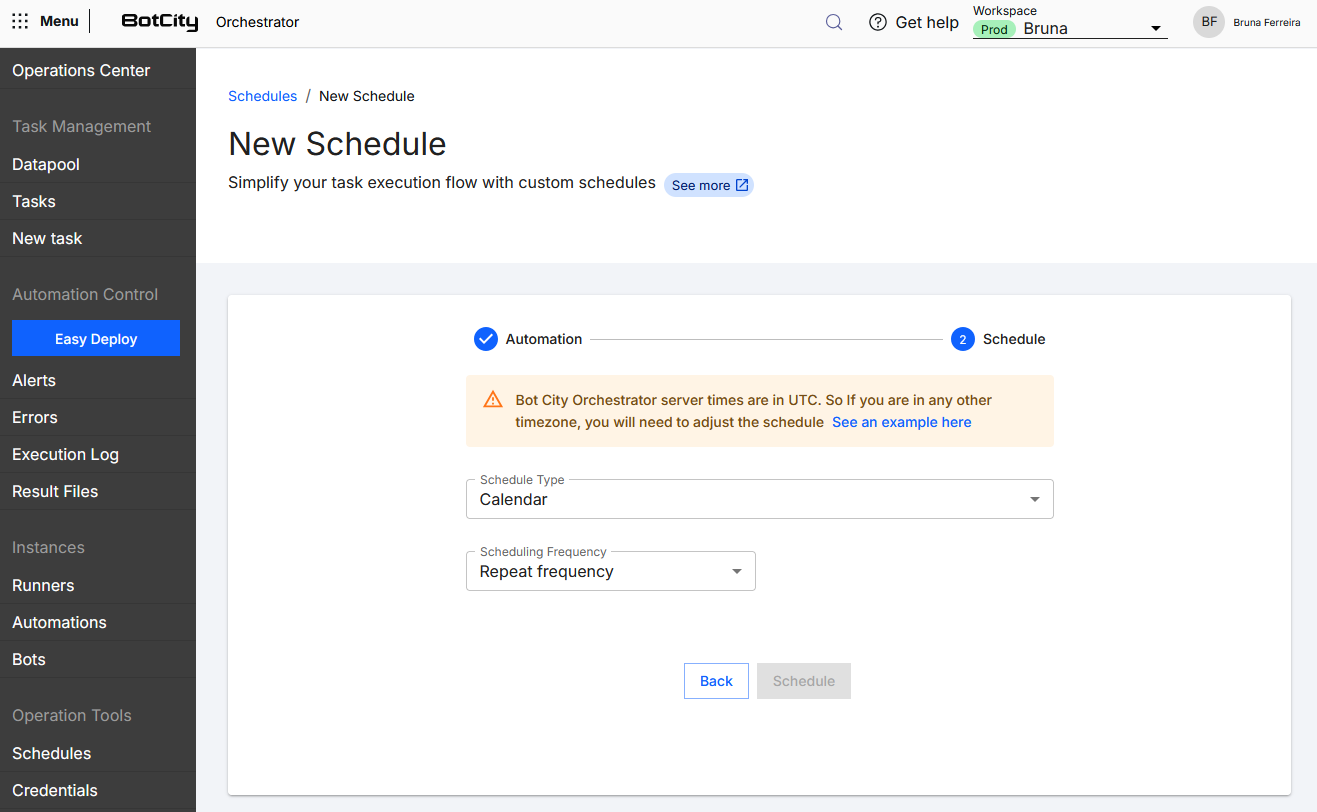
When selecting the Repeat frequency option, you define the task creation frequency:
- Minute: repeats the task at the defined minute interval (from
1to59). - Hour: repeats the task at the defined hour interval (from
1to23). - Day: repeats the task at the defined day interval, at a specific time.
- Week: repeats the task on the selected days of the week, at a specific time.
- Month: repeats the task on the selected day of the month, at a specific time.
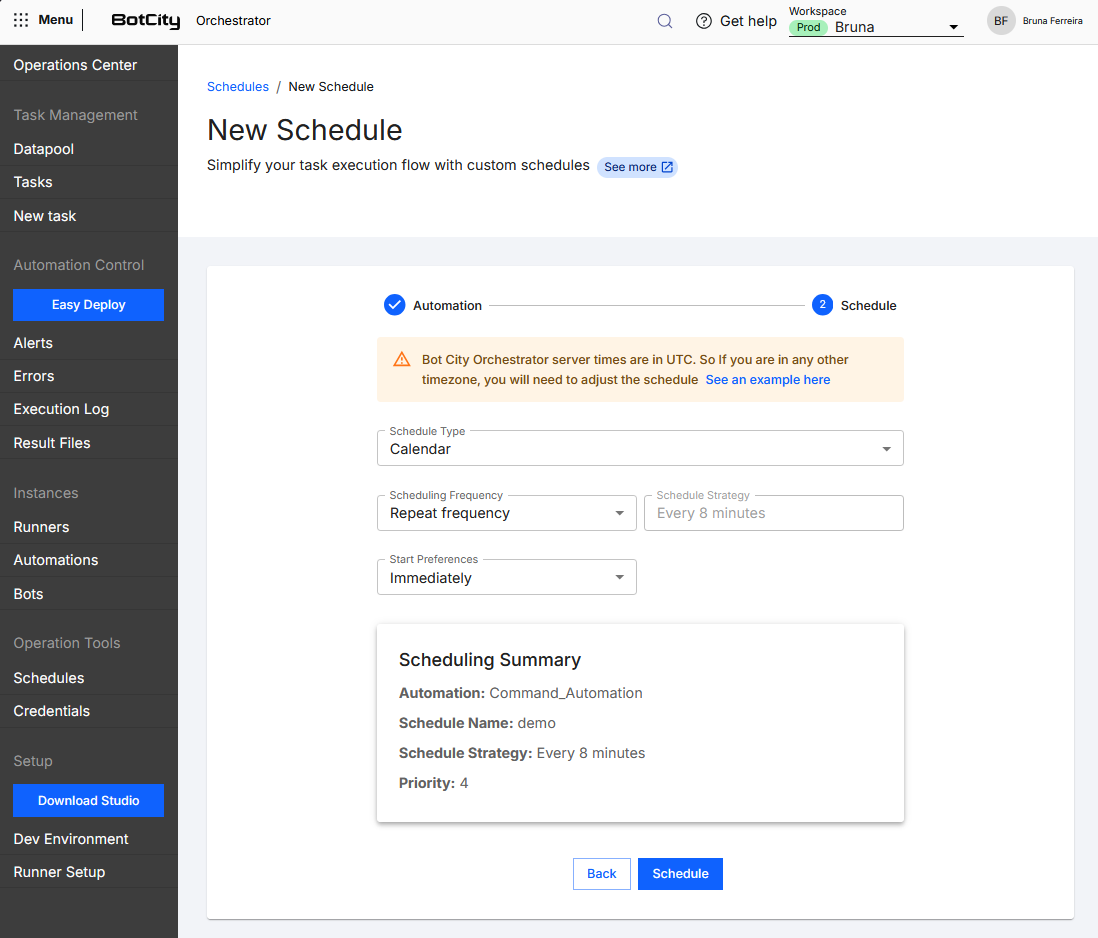
The Scheduling policy field is automatically generated according to the selected calendar.
The next field refers to the Start Configuration, the options are:
- Immediately: The rule is applied immediately.
-
Start on a specific date: The rule will start from the chosen date.
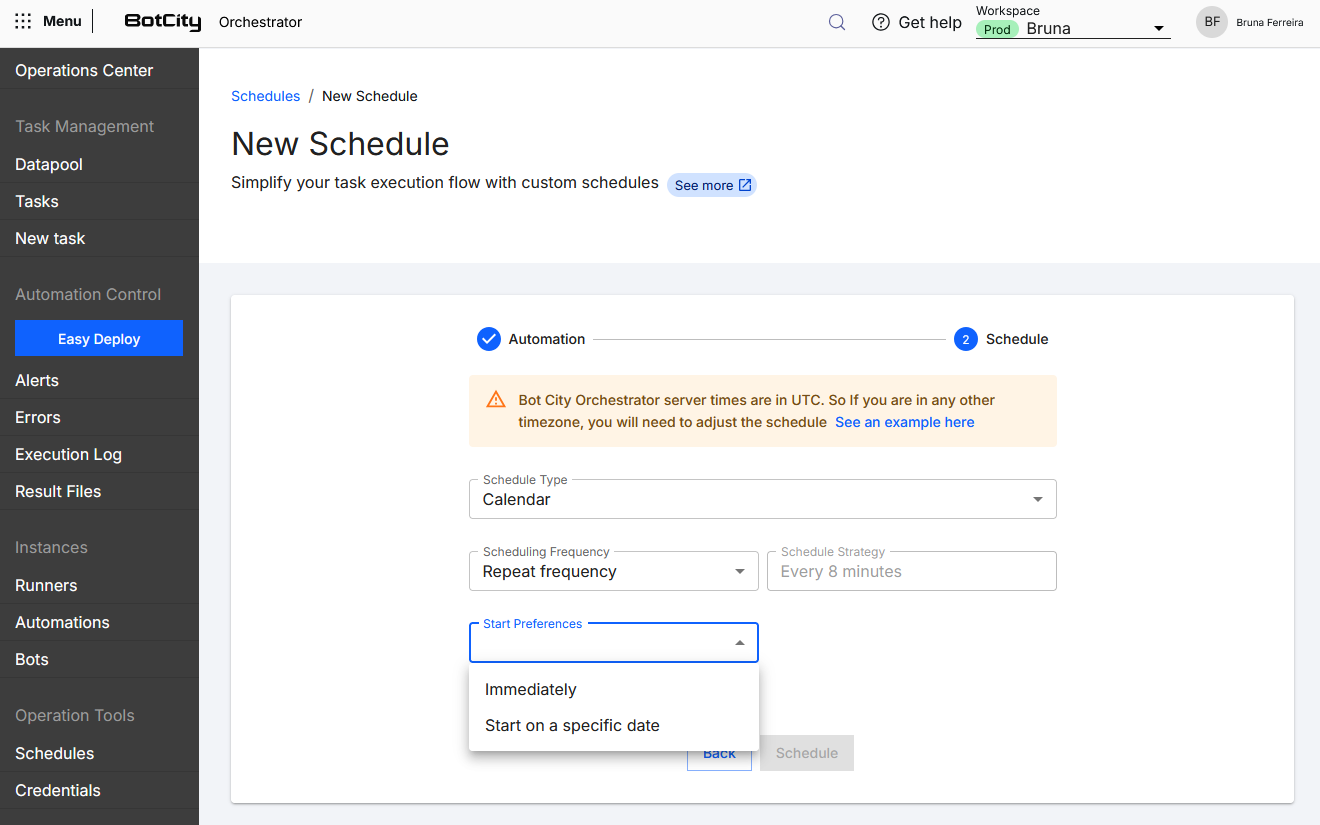
Once the fields are filled in, you can view a summary of the schedule created and click Schedule to finish.
CRON Expression
By selecting the CRON expression option, you can define more complex schedules, since it is more powerful and flexible.
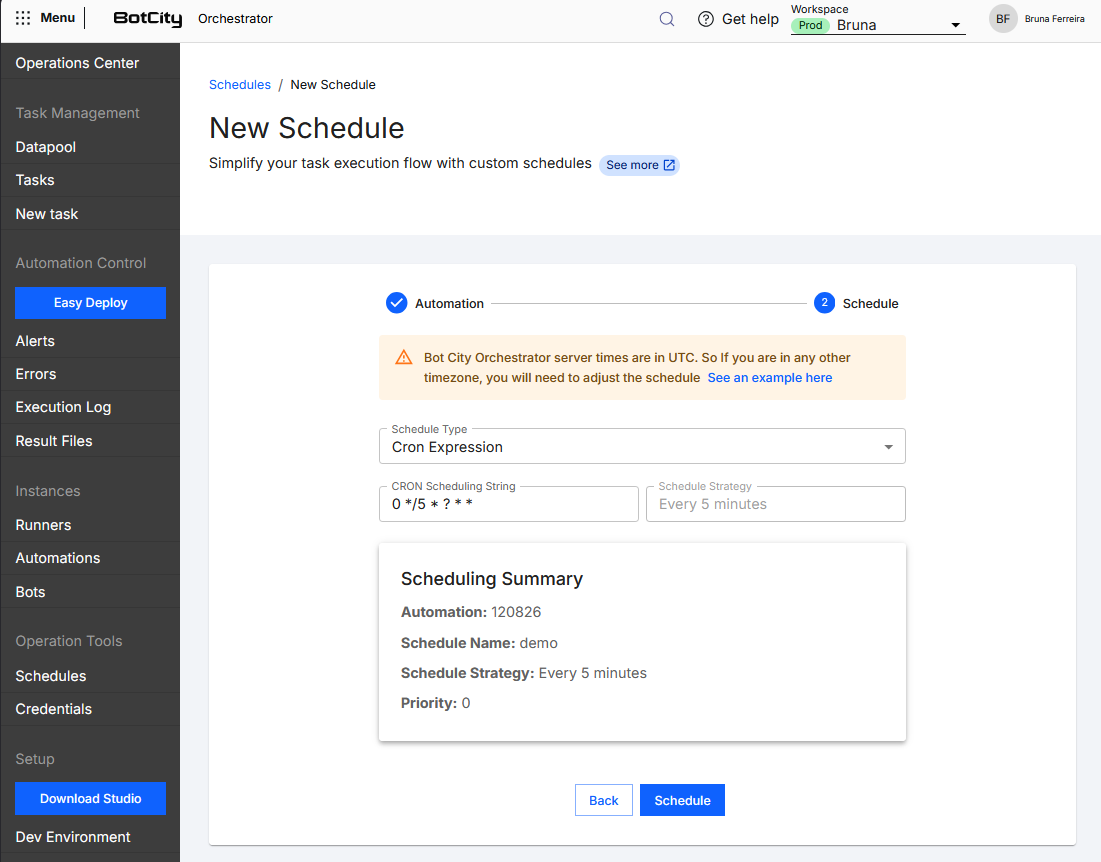
Fill in the CRON scheduling string field with the desired rule.
CRON expression example
With the CRON expression 0 */5 * ? * * defined for an automation, the BotCity Orchestrator automatically creates a new task in the queue every 5 minutes.
Accepted format
The CRON expression string is not the standard CRON expression format. The BotCity Orchestrator uses the Quartz CRON expression format.
The Cronwise site offers a great tool for generating CRON expressions, as well as describing them and showing the next execution dates.
The Scheduling policy field is automatically generated according to the filled CRON string.
Once the fields are filled in, you can view a summary of the schedule created and click Schedule to finish.
Actions
You can perform some actions in the Actions menu of a schedule.
Information
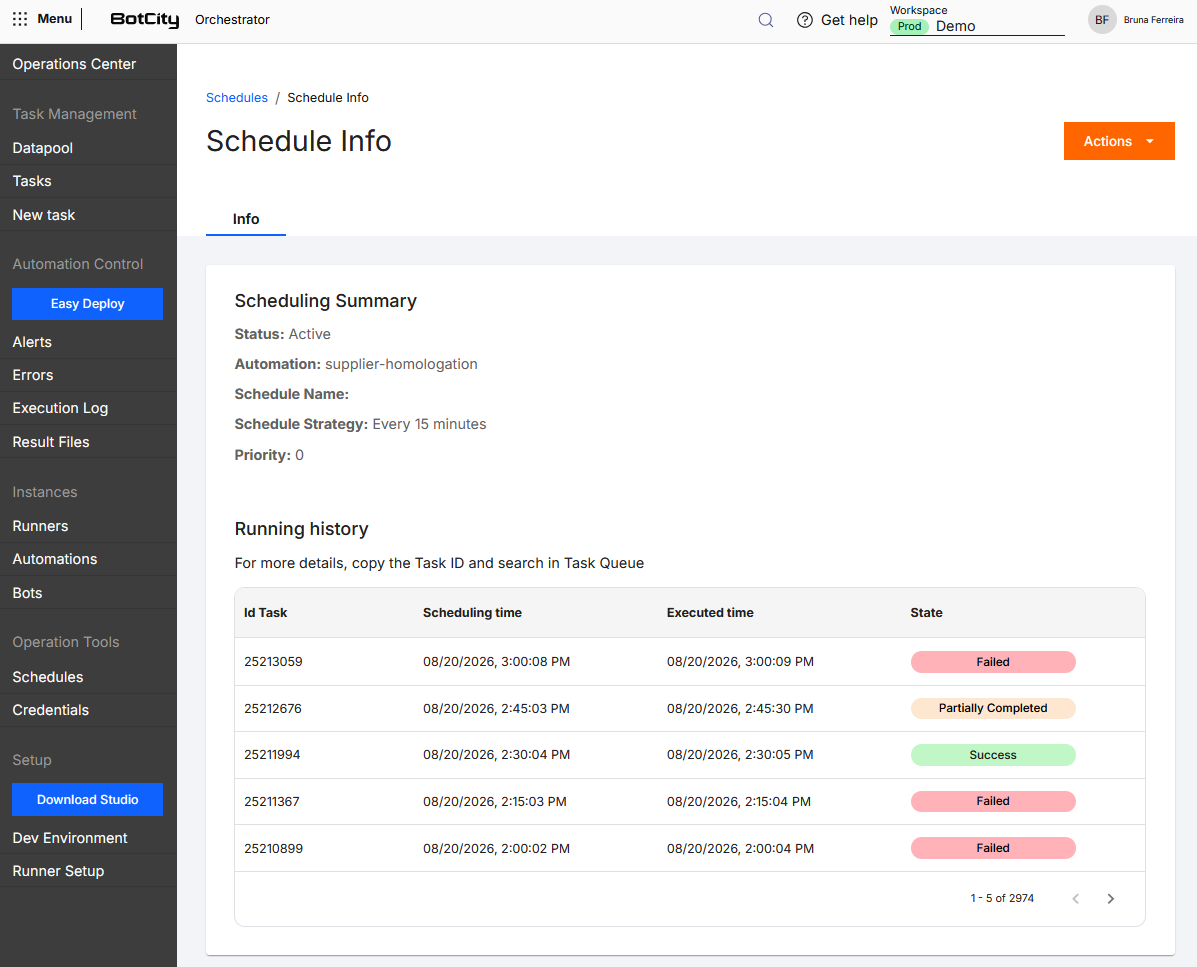
In the Info option, you can view the schedule summary and the history of tasks created by the scheduler.
Edit schedule
In the Edit option, you can change the information of an existing schedule:
- Schedule name
- Parameters
- Schedule type
- Frequency
- Initial preferences
Delete schedule
In the Delete option, you can remove the schedule from the list.