BotCity Studio for Visual Studio Code
The VSCode BotCity Studio extension provides a set of tools to help you develop and orchestrate your RPA projects using BotCity.
Requirements
- Visual Studio Code 1.81 or newer
- Java 11 or newer
- BotCity Account
Quick Start
Welcome 👋!
This extension is designed to work with BotCity. If you don't have an account yet, you can sign up for free.
- Install Java version 11 or newer.
- Install the VSCode BotCity Studio extension.
- Restart your IDE to apply the changes.
- Open the command palette (Ctrl+Shift+P) and type
BotCity: Login. Or click on the BotCity icon on the left side of the IDE and click on theLoginbutton. - Follow the instructions to log in with your BotCity account.
- Open a folder with your project or create a new one.
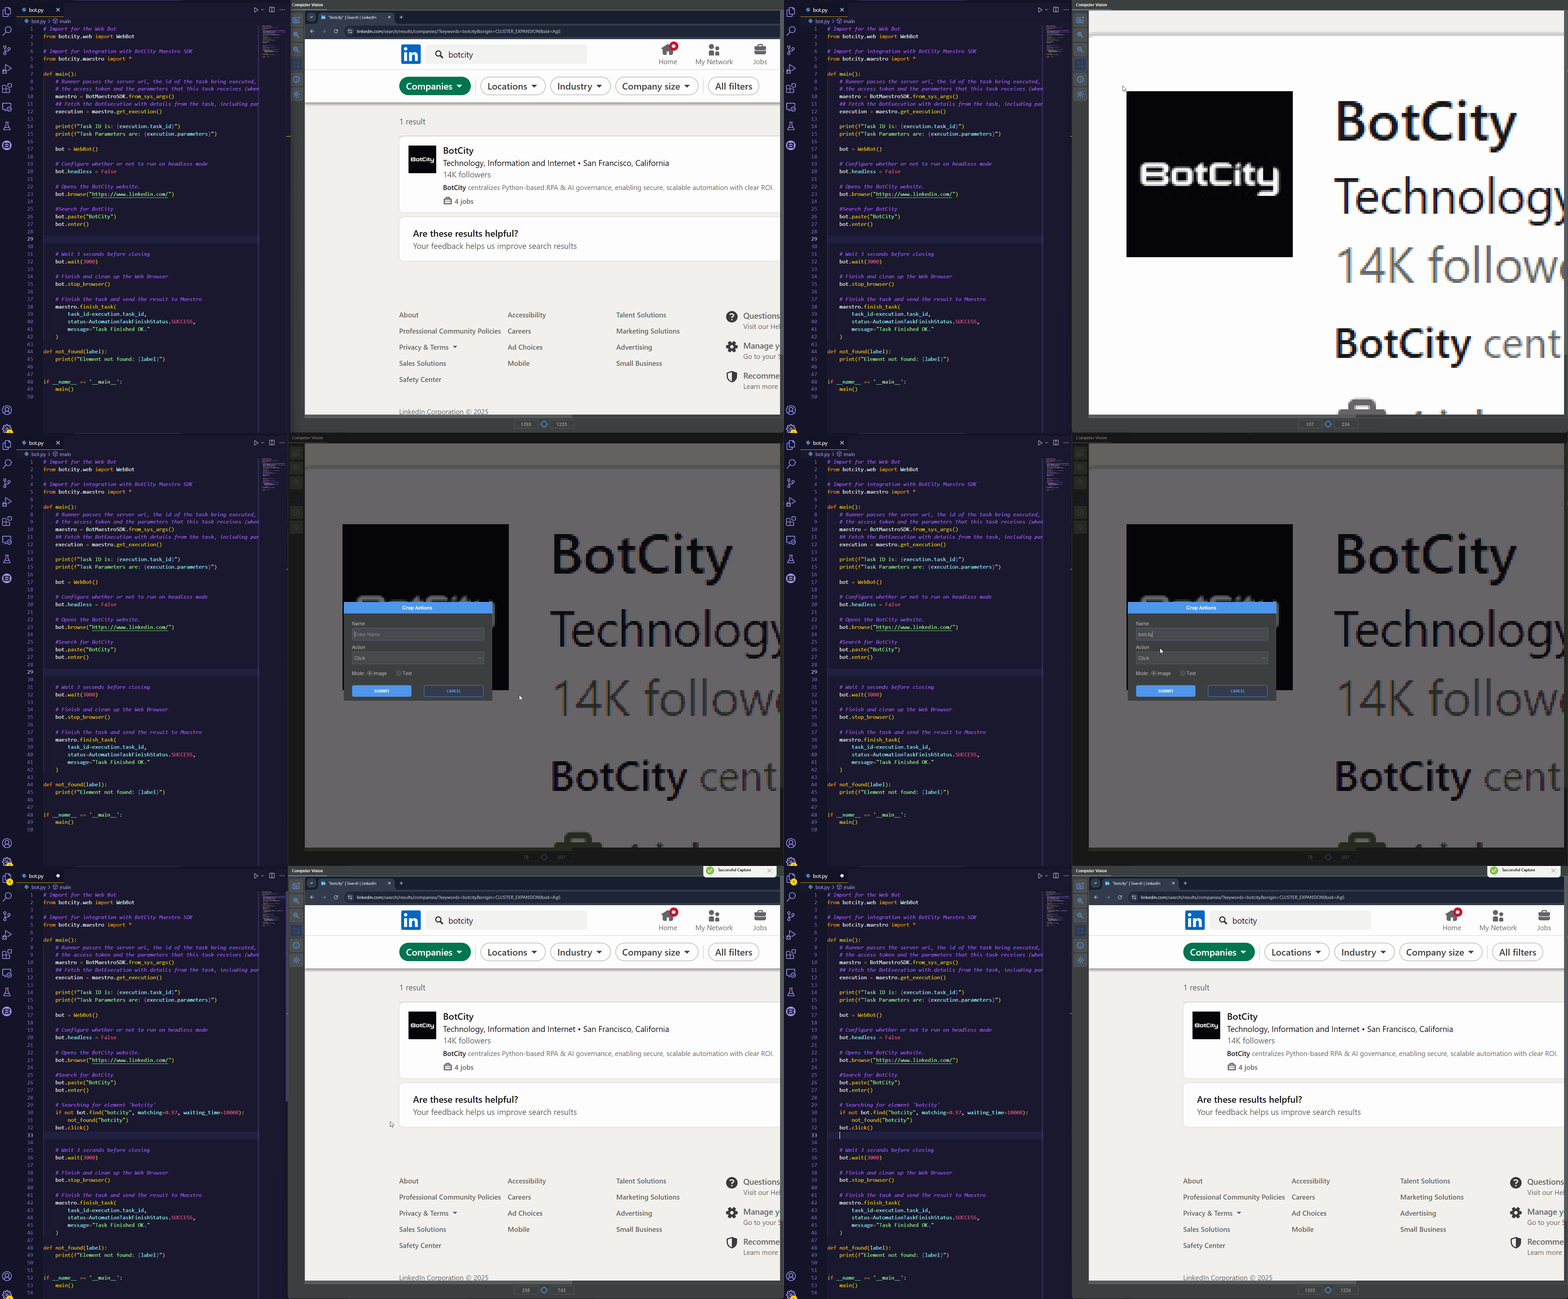
- After opening your code file, you can activate the computer vision assistant by clicking on the BotCity icon on the left side of the IDE and clicking on the
Launch Computer Visionbutton or by pressing theprint screenkey on your keyboard (or F9 ⏩ if you are using a Mac).
You are now ready to go! 🚀
Next Steps
- Explore the features of the extension.
- Learn more about the settings and customizations available.
- Address possible issues with the troubleshooting guide.
- File an issue if you find a bug or have a feature request.
Features
Computer Vision assistant
Build automation on Legacy, Desktop and edge cases with our computer-vision coding assistant.
Windows API Inspector
If you need to automate Desktop applications using the Windows API, you can use our Inspector tool to find elements and generate optimized code.
Explore the documentation for more details on automating Windows applications.
Web Inspector
Optimize the development of Web automation using our Web Inspector tool to map elements in the browser and generate code.
Explore the documentation for more details on developing Web automation.
Settings
You can customize the extension by changing the settings. To access the settings, click on the gear icon on the bottom left of the IDE and click on Settings.
After that, you can search for BotCity to see all the available settings.
Here are the available settings:
| Setting | Description | Default Value |
|---|---|---|
| Mirror Theme | Whether or not to mirror the VSCode theme? | true |
| Find Resources | Enable automatic image directory search? | true |
| Resources Diretory | Path of the directory where the images and other resources will be stored. | defined automatically if Find Resources is enabled |
| Show Configuration Message | Show environment configuration message after starting. | true |
| Log Level | Set the log level. This will only be applied after restarting the service. | INFO |
| Account Email | The BotCity account e-mail to be used when logging in. | automatically set after the first login |
Troubleshooting
Java version 11 or newer is required
This extension depends on Java 11 or newer. If it is missing, the Java version 11 or newer is required warning will be displayed.
Click on the warning to download and install the dependencies.
For MacOS users
If you are using MacOS, you may need to allow the JavaLauncher and/or the Visual Studio Code to access the accessibility feature.
JavaLauncher
Go to System Preferences > Security & Privacy > Privacy > Accessibility and enable the check the JavaLauncher checkbox.
If you can't find JavaLauncher in the list, click on the + button and navigate to /System/Library/CoreServices/JavaLauncher and click on Open.
If you can't find the JavaLauncher, you may need to install it. You can download it from the Oracle website.
Visual Studio Code
Go to System Preferences > Security & Privacy > Privacy > Accessibility and enable the check the Visual Studio Code checkbox.
If you can't find Visual Studio Code in the list, click on the + button and navigate to /Applications/Visual Studio Code and click on Open.
License
Please see the BotCity Terms of Service for details.


